Extra studs can be handy and easily installed, providing extra security against unexpected circumstances.
Overtightening lug nuts without using an appropriate tool or torque wrench is a common cause of wheel stud breakage and corrosion, often resulting in their disconnection or corrosion.
Situations such as this can be extremely hazardous if they arise while driving.
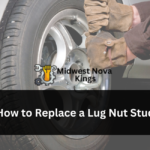
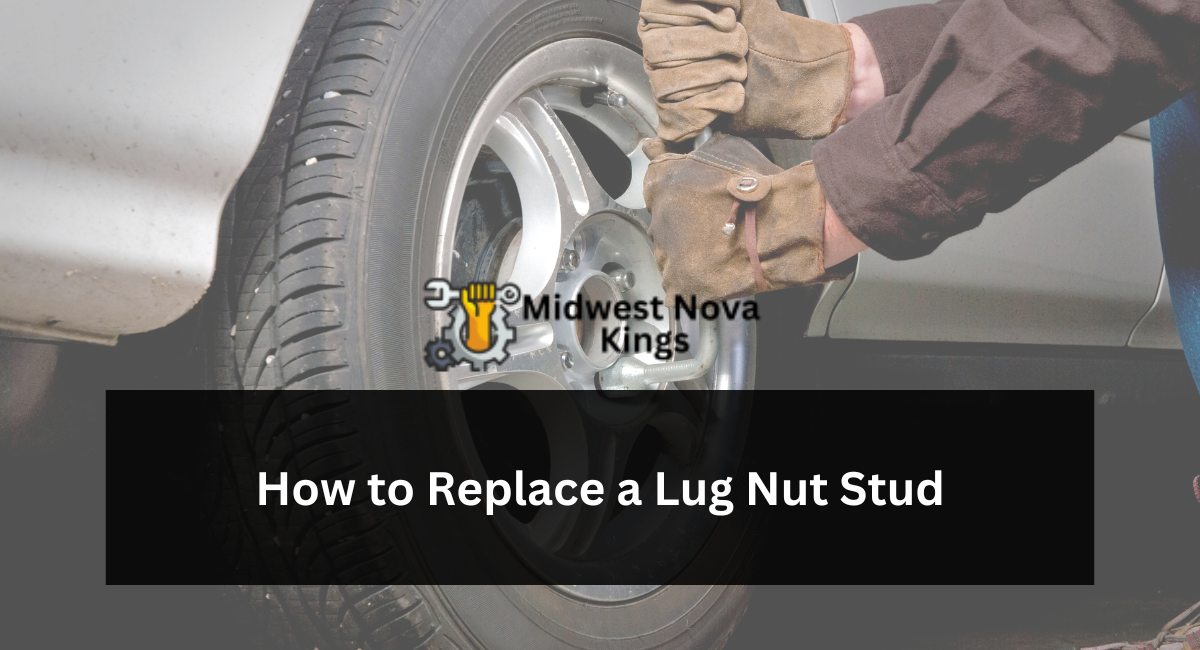
Remove the Lug Nuts
Wheel lug nuts (or bolts) are integral in keeping wheels securely attached to vehicles, and their failure could cause vibration that compromises performance and compromise safety.
Lug nuts and studs can easily become damaged when overtightened during a tire change job, so using a torque wrench is often recommended to ensure they meet factory specifications.
To unstick a stuck lug nut, start by applying generous amounts of penetrating oil directly to its stud and nut. If this fails, try switching up socket sizes until one works or try heating with an oxy-acetylene torch or striking it with a hammer – either will do.
Remove the Wheel
As part of your wheel change process, it may become apparent that one or more studs won’t tighten or unthread – an indication of stripped threads in your lug nuts.
This can result from either regular road use, or from performing frequent track work and wheel changes.
Loctite bonds the shoulder to the hub, so when tightening, make sure it touches both surfaces of the hub.
Undergoing any attempt to loosen or remove a stripped stud could potentially damage other components in the wheel hub and axle, even leading to total failure of both. Replacing it yourself is easy and saves costs; follow this step-by-step guide and do it yourself.
Remove the Hub
An expensive repair bill may result from an incomplete wheel stud replacement process if you lack the appropriate tools to address it. To successfully do the job, you will require three tools – one new stud, two lug nuts and several washers with holes larger than those on the threaded portion of your wheel stud.
Wheel studs are large bolts that connect wheels to their hubs. Screwed into the rear of each hub, these bolts secure your wheels to your car by way of lug nuts that tighten or loosen as necessary – improperly tightened or too loose nuts could lead to wheels coming loose while driving and leading to serious consequences.
Regular inspection of your wheel studs should be undertaken; to inspect them effectively you’ll need to take both off!
Remove the Brake Line
Remove the brake line by using either an axle puller or sliding a hammer over it and dislodging it from its place in the back of the wheel hub. Removing and setting aside.
Cut your new brake line to its appropriate length and deburr its ends using a tool with a small disc, such as a pizza cutter; this will produce cleaner cuts. For any larger bends you might require, use a brake line bending tool.
Add washers to one end of the new stud and thread it through a large open ended lug nut with thread locking nuts. Crank down on the lug nut until its staked portion fits snugly into its seat in the wheel hub.
Remove the Caliper
Once your stud has been bent, loose or damaged it is relatively straightforward to replace it. Simply rotate the hub until a deep area can be seen behind its hole and insert your new stud using washers as wedges before tightening its lug nut to secure its placement into the wheel hub.
Some people turn to Loctite to secure their studs, but that’s a bad idea as the stuff can make removing wheels or lug nuts more difficult in the future. I recommend keeping extra studs, along with a breaker bar handy; you never know when you might need them!
Additionally, consider purchasing some lug nuts with studs so that you’re always prepared.
Remove the Rotor
Broken wheel studs can create serious driving challenges, from slow tire rotations to vibrations that could damage other components. Although such incidents are rare, stud breakage during tire rotation could occur unexpectedly and be dangerous.
To avoid this situation, always loosen the lug nuts before jacking up your vehicle. This will prevent the lug nut from spinning during removal and make it easier for you to take steps such as taking off and replacing a broken wheel stud.
If the lug nut is particularly stubborn, try using a metal hammer to break up corrosion on its flange and hat, or alternatively using a socket head designed specifically to remove locks with reverse threads that can bite into and loosen locks.
Remove the Stud
Wheel studs are large bolts that protrude from the hub and connect to lug nuts to hold wheels onto a vehicle. A damaged stud may no longer allow them to twist securely, or it could even break off completely.
EHT staff member Mike accidentally damaged one of the wheel studs during a tire rotation procedure by forgetting to use a suitable torque wrench and overtightening it too much.
Spraying PB Blaster on the broken stud wasn’t helpful, nor was clamping a vise grip around it stopping its rotation. Luckily, replacing broken studs is a relatively straightforward DIY task most can complete in under an hour for under $60 worth of parts – the only drawback being some debris generated during installation.
Conclusion
In conclusion, replacing a luggage nut stud is a simple and manageable task requiring minimal tools and effort. By utilizing a wrench or pliers to remove the damaged stud and installing a new one by screwing it into place, you can restore the functionality of your luggage. It’s important to ensure the replacement stud matches the size and threading of the original, guaranteeing a proper fit.
Regular maintenance and timely replacement of damaged studs can prolong the life of your luggage, ensuring its durability and functionality for your travel needs. With a straightforward replacement process, you can quickly and easily resolve issues with a damaged luggage nut stud.